Home
Home
Why Professional Grooming Bills Add Up Fast
If you’ve ever seen the receipt from a professional dog grooming session, you know the numbers can be eye-watering. A basic bath and brush for a medium-sized dog runs $40 to $75. Add in a haircut, nail trim, ear cleaning, and anal gland expression, and you’re looking at $75 to $150 per visit. For breeds that need grooming every four to six weeks — Poodles, Shih Tzus, Bichon Frises, Goldendoodles — that’s $900 to $1,800 per year on grooming alone.
The good news is that most of what a professional groomer does, you can learn to do at home with the right tools and a little practice. You won’t match a show-ring finish on your first try, but you can absolutely keep your dog clean, comfortable, mat-free, and healthy-looking between occasional professional visits. Some owners eventually eliminate professional grooming altogether once they build confidence with the fundamentals.
This guide walks through every aspect of at-home grooming — bathing, brushing, nail trimming, ear cleaning, and basic coat trimming — with the specific techniques professionals use, adapted for the non-professional working in their bathroom or backyard.
The Essential Grooming Toolkit
Before your first grooming session, invest in quality tools that will last. Cheap grooming equipment makes the experience harder for both you and your dog, and dull blades or flimsy brushes can actually cause discomfort that turns your dog against grooming permanently.
For brushing, you’ll need a slicker brush (works on almost every coat type), a steel comb for detail work and mat detection, and a deshedding tool like a Furminator if you have a heavy-shedding breed. For bathing, get a handheld sprayer attachment for your tub or shower — trying to bathe a dog by cupping water in your hands is an exercise in futility. A non-slip mat for the tub prevents your dog from sliding around and panicking.
Nail clippers come in two styles: guillotine (better for small to medium dogs) and plier-style (better for large dogs with thick nails). A nail grinder like a Dremel is an excellent alternative for dogs who fear clippers. Rounded-tip scissors and thinning shears handle basic coat trimming. Cotton balls and a vet-approved ear cleaning solution round out the kit. Total investment for a quality starter kit runs $60 to $100 — less than a single professional grooming session for most breeds.

Brushing: The Most Important Habit You Can Build
If you do nothing else from this guide, brush your dog regularly. Brushing removes loose hair before it ends up on your furniture, distributes natural skin oils that keep the coat healthy and shiny, prevents mats that can tighten against the skin and cause pain, and gives you a chance to spot lumps, ticks, skin irritation, or other issues early.
Frequency by Coat Type
Short, smooth coats (Beagles, Boxers, Dalmatians) need brushing once a week with a rubber curry brush or bristle brush. Medium coats (Golden Retrievers, Australian Shepherds, Border Collies) need brushing two to three times per week with a slicker brush, paying extra attention to the feathering on legs, chest, and ears where mats form. Long and curly coats (Poodles, Shih Tzus, Maltese, Doodle mixes) need daily brushing with a slicker brush and comb to prevent matting.
Wire-haired breeds (Schnauzers, Wire Fox Terriers) benefit from hand-stripping — a technique where dead outer coat is pulled rather than cut. This maintains the coat’s texture and color but requires practice to do correctly. If hand-stripping feels too advanced, a good brushing with a stripping knife or slicker brush every few days keeps wire coats manageable.
The Right Brushing Technique
Work in sections, brushing in the direction of hair growth with gentle, even strokes. For long-coated dogs, use the “line brushing” technique: part the coat with one hand, brush the exposed layer from root to tip, then release the next layer and repeat. This ensures you’re brushing all the way to the skin rather than just skimming the surface, which is how hidden mats form. When you encounter a mat, hold the base of the mat against the skin with your fingers (to prevent pulling) and work it out from the edges inward with a slicker brush or mat splitter. Never try to cut mats out with scissors — it’s dangerously easy to cut skin that’s tented up under the mat.
Bathing Without the Drama
Most dogs need a bath every four to eight weeks, depending on their coat type, activity level, and how much time they spend rolling in things you’d rather not think about. Overbathing strips natural oils and can cause dry, flaky skin. Underbathing leads to odor, skin irritation from dirt buildup, and a generally unpleasant couch companion.
Setting Up for Success
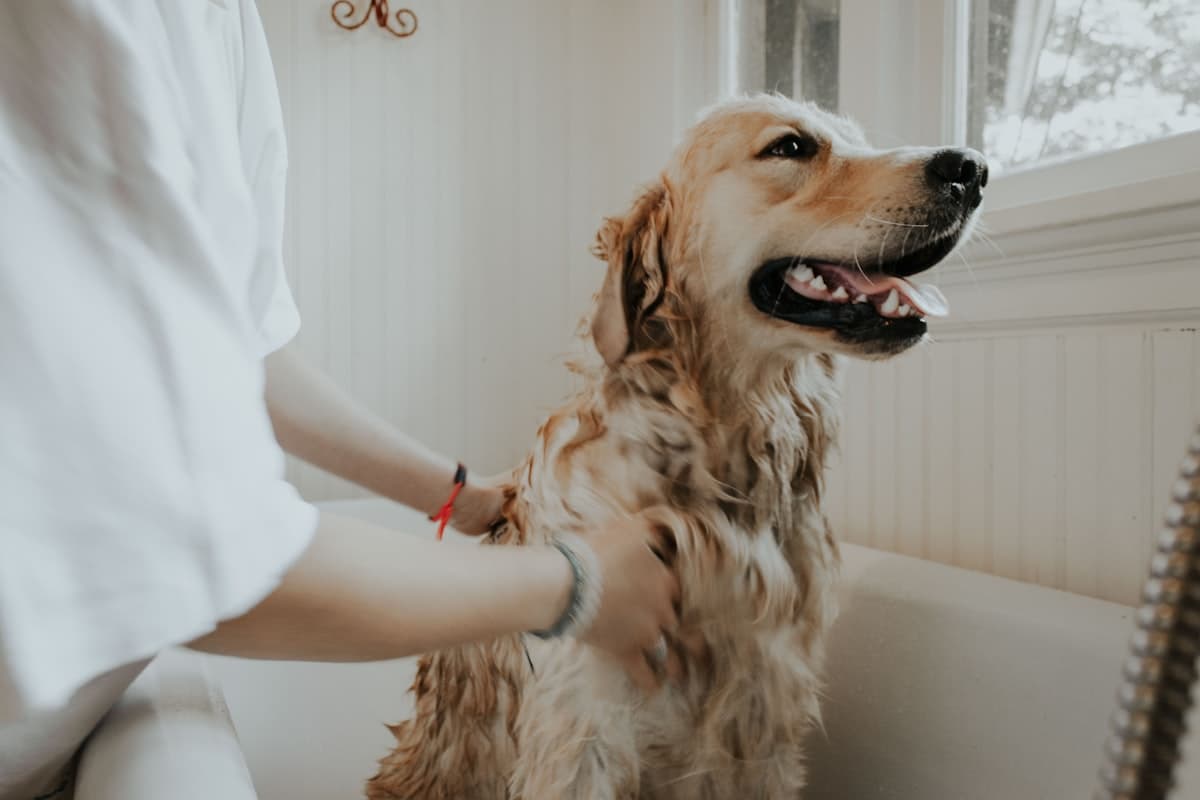
Gather everything you need before the dog goes in the tub: shampoo, conditioner (optional but helpful for long coats), towels, the sprayer, a treat pouch, and a non-slip mat. Once your dog is wet, you don’t want to leave them unattended while you search for supplies.
Use lukewarm water — dogs are more temperature-sensitive than most people realize, and what feels pleasantly warm to your hand can be too hot for their skin. Wet your dog thoroughly, working from the neck back. Save the head for last, as water on the face is what most dogs dislike most about baths.
Shampoo Selection and Application
Use a shampoo formulated specifically for dogs. Human shampoo has a different pH that can irritate canine skin. For most dogs, a gentle oatmeal-based or aloe-based shampoo works well. Dogs with skin conditions may need medicated shampoo recommended by your vet — common options include chlorhexidine for bacterial issues and ketoconazole for fungal problems.
Lather the shampoo from neck to tail, working it through the coat to the skin with your fingertips (not nails). Don’t forget the belly, chest, legs, paws, and the area under the tail. Rinse thoroughly — leftover shampoo residue causes itching and flaking. If the water running off your dog isn’t completely clear, keep rinsing. Taking care with bathing is one of those smart ways to support your dog’s overall health at home that makes a visible difference.

Nail Trimming: The Skill Most Owners Fear
Nail trimming anxiety is real — both yours and your dog’s. The fear of cutting the quick (the blood vessel inside the nail) stops many owners from attempting nail trims at all, leading to overgrown nails that affect your dog’s gait, joint health, and comfort. Here’s how to do it confidently.
Finding the Quick
On dogs with white or light nails, the quick is visible as a pinkish area inside the nail. Trim a few millimeters in front of it. On dogs with dark nails where you can’t see the quick, trim small amounts at a time and look at the cross-section of the cut nail. When you start seeing a dark dot in the center of the pale nail material, you’re approaching the quick and should stop.
If you do nick the quick — and it happens to everyone eventually, including professionals — styptic powder (or cornstarch in a pinch) stops the bleeding within seconds. Press the powder firmly against the nail tip and hold for 10 seconds. The bleeding stops, the dog forgets about it within minutes, and life goes on. One nick doesn’t ruin the experience if you handle it calmly.
Making Nail Trims Less Stressful
Desensitize your dog to paw handling before you ever bring out the clippers. Spend a few days casually touching, holding, and gently squeezing their paws during relaxed moments — on the couch, during belly rubs, while they’re drowsy. Pair each touch with a treat. Once they’re comfortable with paw handling, introduce the clippers visually, then touch the clippers to the nail without cutting, then trim a single nail and reward generously. Build up to a full trim over several sessions.
Nail grinders (rotary tools) are an excellent alternative for dogs who panic at the sight of clippers. The gradual filing approach eliminates the risk of cutting the quick and the sudden “crunch” sensation that startles many dogs. The trade-off is that grinding takes longer and the noise/vibration bothers some dogs initially, though most adapt quickly with positive conditioning. Either way, building a consistent grooming routine fits into the broader picture of keeping your dog healthy at home with smart daily habits.
Ear Cleaning: Quick but Important
Check your dog’s ears weekly. Healthy ears are pale pink inside, don’t smell, and have minimal wax. Red, swollen, smelly, or excessively waxy ears signal an infection that needs veterinary attention — don’t try to clean your way out of an active ear infection.
For routine cleaning, squirt a vet-approved ear cleaning solution into the ear canal until it’s about half full. Massage the base of the ear for 20 to 30 seconds — you’ll hear a satisfying squishing sound — then let your dog shake their head. Wipe away the loosened debris with cotton balls. Never insert cotton swabs into the ear canal; they push debris deeper and can damage the eardrum.
Floppy-eared breeds (Basset Hounds, Cocker Spaniels, Labrador Retrievers) need more frequent ear cleaning because their ear flaps trap moisture and reduce airflow, creating an environment where bacteria and yeast thrive. Weekly cleaning for floppy ears, biweekly for upright ears is a reasonable schedule for most dogs.
Basic Coat Trimming Between Professional Visits
You don’t need to give your dog a full haircut at home — that’s a skill that takes significant practice. But you can maintain tidiness between professional appointments with a few targeted trims that make a big visual difference.
The areas most prone to looking scruffy between grooms are the paw pads (hair between and around the toes), the sanitary area (around the genitals and under the tail), the face (especially around the eyes and muzzle), and the ears (long ear fringe that collects debris). Use rounded-tip scissors for safety, work slowly, and trim small amounts at a time. You can always take off more, but you can’t put it back.
For paw pads, have your dog stand on a flat surface and trim any hair that sticks out beyond the bottom of the pads. This hair causes slipping on hard floors and collects snowballs in winter. For the sanitary area, carefully trim hair that’s long enough to collect waste — this prevents hygiene problems and that unfortunate situation where your dog drags something unpleasant across your carpet.
Building a Grooming Schedule That Sticks
The biggest challenge with home grooming isn’t the skill — it’s the consistency. Life gets busy, and grooming slides down the priority list until your dog is matted, overgrown, and in need of a more intensive (and expensive) professional session than if you’d kept up with maintenance.
Tie grooming to an existing routine. Brush your dog while watching your evening show. Do a quick paw and ear check every Sunday morning. Trim nails on the first and fifteenth of each month. Bathe on the last weekend of each month. Whatever schedule you choose, the key is making it automatic rather than aspirational. A simple routine practiced consistently produces better results than elaborate grooming sessions done sporadically — and it keeps your dog looking and feeling great year-round.